
- The Jump Manual Review By A Pro Player [Bonus Included] - September 23, 2023
- 3 Best Basketball Shoes For Casual Wear [September 2023] - September 3, 2023
- 5 Best Basketball Shoes For Jumping [September 2023] - August 25, 2023
It was a typical Saturday afternoon, and I was over at my friend’s house playing basketball in his driveway.
So there we were – two 13-year-olds lowering the portable hoop, so we could finally dunk like the pros.
My friend was all pumped up, trying to show off with a windmill dunk, and -SNAP- the hoop came crashing down on his wrist.
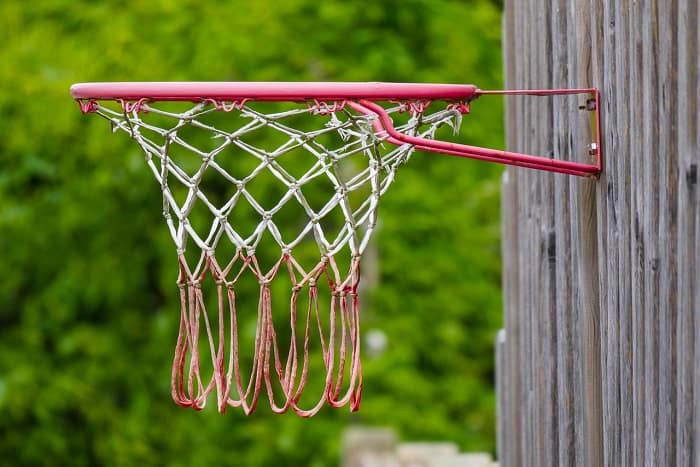
It’s a scenario that’s all too common – portable basketball hoops can be extremely dangerous, especially for young children.
The heavier the hoop, the more likely it is to fall over. That’s why in-ground hoops are a much safer option – they’re more stable and less likely to topple over.
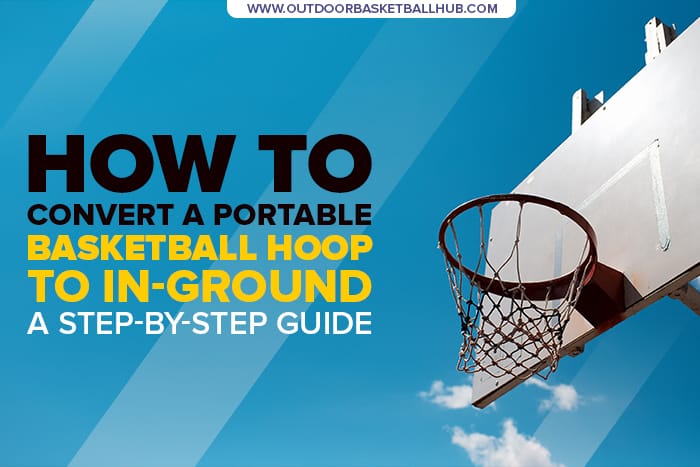
So, you want to know how to convert portable basketball hoop to in-ground? Here are a few methods:
- Disassemble your portable hoop
- Use a Probase conversion kit to attach the pole into the ground
- Alternatively, use an in-ground sleeve and ready mix cement
Read on for more details.
Contents
Why Convert Your Portable Hoop To An In-Ground Goal?
It can be frustrating when your portable basketball hoop keeps falling over or crashing into pieces. This is why you should consider converting it into an in-ground hoop.
An in-ground hoop is more stable, safer, and will give you a better experience while practicing. Not to mention, an in-ground provides an experience more similar to playing in a real game.
Converting your portable hoop to an in-ground is a relatively easy weekend project and can be done in just a few hours. All you need is a shovel, some concrete, and a few other tools.
Step by step: How To Convert Portable Basketball Hoop To Inground
If you’re looking to convert your portable basketball hoop into an in-ground one, you’ll need to disassemble your portable hoop first.
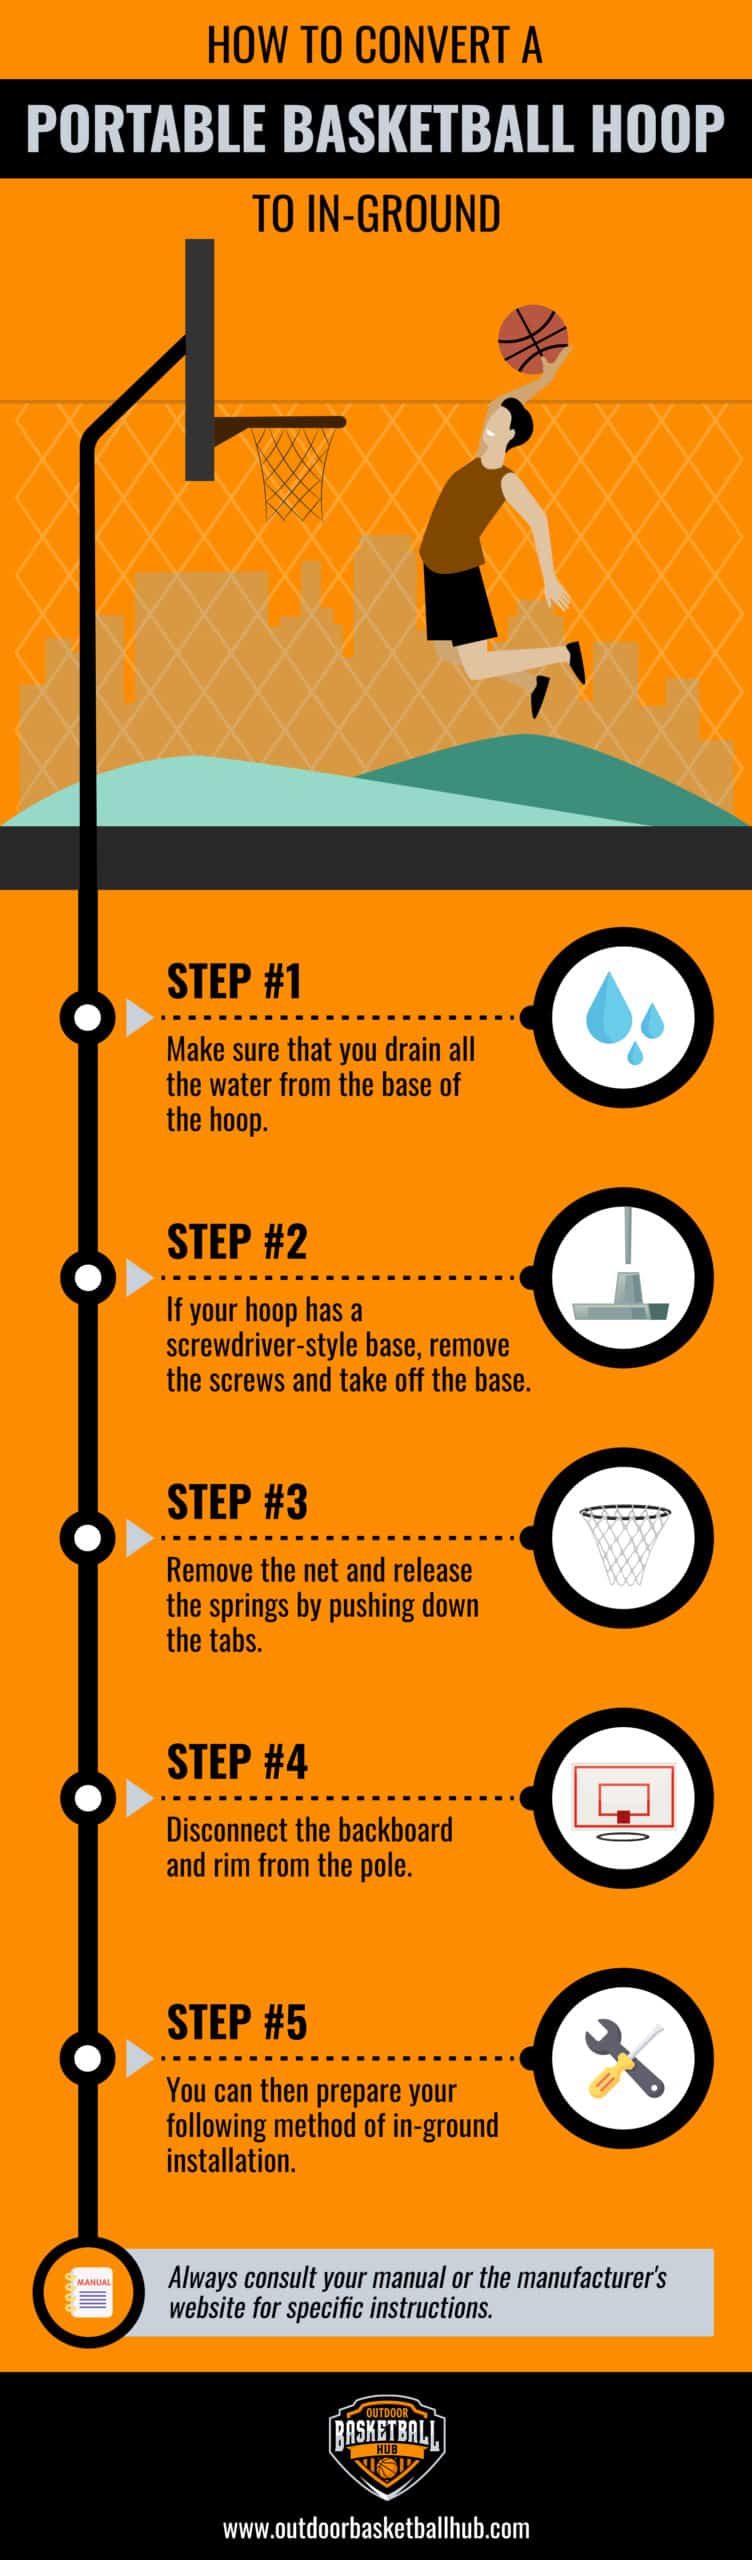
The steps and methods can vary depending on the brand and type of hoop, but here are some general tips on how to do it:
- Make sure that you drain all the water from the base of the hoop. Draining will help reduce the hoop’s weight and make it easier to move.
- If your hoop has a screwdriver-style base, remove the screws and take off the base.
- If your basketball goal has a slide-in system, remove the net and release the springs by pushing down the tabs.
- Disconnect the backboard and rim from the pole.
- Once you disassemble the hoop, you can then prepare your following method of in-ground installation.
Depending on the brand and type of hoop, there may be other steps or variations that you’ll need to take. Always consult your manual or the manufacturer’s website for specific instructions.
With these general tips, you should be able to dismantle your portable hoop without too much trouble.
Use a Probase (No cement needed!)
This nifty device is easy to convert your portable hoop into an in-ground one. The Probase is a simple, easy-to-use device that slips over your portable hoop’s pole and provides it with a solid foundation.
In addition, the device acts as a root system for your hoop, giving it the stability it needs to stay in place.
By removing the portable base system, you are removing a key obstruction that contributes to injuries. UNH researchers determined you need a minimum of 3 feet to a maximum of 10 feet of buffer space in order to stay safe
Most users report that it’s a 30-minute procedure to install the Probase – and you don’t need any concrete!
- Choose a location to install your Probase. Ideally, the site should be a place of a stake-like object into the ground. It should be directly behind a solid surface such as your driveway’s pavement or curb.
- Create a pilot hole and assemble the stake and tapping block, so you can drive the Probase into the ground
- Once the Probase is securely in the ground, make sure the hoop’s base is level by using the Probase leveler
- Attach the hoop to the Probase by tightening the screws on the base
- You’re now ready to play (and prevent injuries)!
That’s it! You now have a stable, in-ground basketball hoop that’s perfect for practicing or playing in a game.
Using an in-ground sleeve with cement
This traditional process is not as simple as using the Probase, but it does require some basic tools and skills. First, you will need to acquire an in-ground sleeve that fits your portable basketball pole. The sleeve is a metal cylinder that sits in the ground and anchors the hoop to the concrete.
Depending on what hoop you have, you may need to acquire an entirely new in-ground basketball pole from your manufacturer. The variables you should pay attention to are:
- Diameter of the pole you have
- Whether or not your pole is straight/angled
Compared to the Probase method, this DIY technique requires more time, DIY skills, and tools.
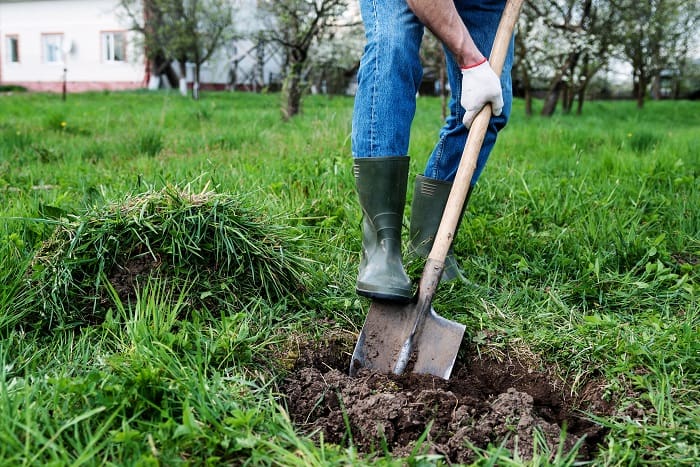
Dig a hole
Once you have the sleeve, use a shovel or post-hole digger to create a hole in the ground 30 inches deep and 21″ wide. Be sure to make the hole as level as possible since your basketball hoop will be resting on it.
Next, place the sleeve in the hole and use a level to make sure it is sitting flush with the surface. If not, use some soil or sand to fill in any empty space until the sleeve is level.
Mix your cement
Once the sleeve is in place, it’s time to mix up some cement. You will need about 11 bags (80+ pounds) of ready mix concrete for a 10′ hoop.
It’s essential to mix the ready mix concrete properly to achieve the desired results. Start by placing half of the required water into a wheelbarrow or large container.
Next, add the cement and mix with a shovel until there are no lumps. Then, add the remaining water and mix again until the cement is smooth.
Pour the cement into the hole around the sleeve, making sure to fill it in thoroughly. Use a level to ensure that the cement is flat and even. Then let the cement dry for 48 hours.
Final placement and assembly
Once the cement is dry, you can install your basketball pole. First, make sure that the pole is clean and free of dirt or debris. Then, using a level as a guide, carefully place the pole in the center of the hole.
Once the pole is in place, use a spirit level or carpenter’s level to ensure it is perfectly vertical. If not, use a hammer and chisel to adjust the pole until it is.
Once the pole is vertical, use a hacksaw to cut the pole (top of the sleeve) flush with the earth. Be careful not to damage the hoop or pole while cutting.
Finally, use screws and washers to attach the hoop to the pole. Tighten the screws until they are snug.
Can You Convert A portable basketball hoop to inground?
Yes, you can convert a portable basketball hoop to an inground system. You can use several methods to make the conversion, but the most popular is to use an inground kit (such as Probase).
The kit includes a metal frame that you install in the earth, and then the hoop attaches to the frame. This type of conversion is straightforward (1 hour actual work time) and sturdy.
Alternatively, you can attach the backboard and rim to your roof or on top of your garage. Roof attachment is a useful option to save some space in your yard. The downside is that it can be more challenging to set up, and it’s not as sturdy as an inground system.
But regardless of whether you choose a portable or inground basketball hoop, make sure to follow the safety guidelines to keep players safe. Always use appropriate padding and anchor the hoop properly. And most importantly, supervise your kids when playing.
How much does it cost to put a basketball hoop in the ground?
If you choose to use an inground kit such as Probase, the total cost will be around $160. If you attach the hoop to your roof or garage, the cost will be less (around $100-150). However, installing the rim and backboard to your garage requires more tools.
So if you don’t have the necessary tools you will need to factor in the cost to rent or buy! The same principle applies to the in-ground sleeve/cement. This method requires you to have more tools, it’s more complex and takes more time.
What can I do with an old portable basketball hoop?
A great question. Let’s see.
Mount the portable basketball and rim (from your portable basketball hoop) to your roof.
The bracket that comes with the hoop is usually made of metal and is designed to fit around the pole of the hoop. The bracket is then attached to the roof using a roof attachment kit.
A basketball roof attachment kit includes all of the materials that you need to attach your portable basketball hoop and backboard to your roof. The kit includes screws and anchors, a mounting bracket, and a drill bit to make the roof holes.
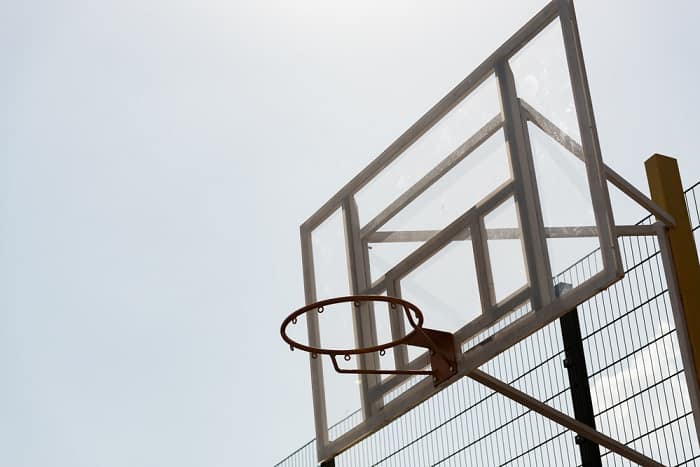
Convert the portable basketball hoop into an in-ground system
Many people have portable basketball hoops in their yards. Often, these hoops are useful for a short period (until they break). If you have an old portable basketball hoop, don’t let it go to waste – convert it to an in-ground system!
Converting your portable basketball hoop to an in-ground system is an excellent idea for several reasons.
Converting your portable basketball hoop to an in-ground system will make the playing experience safer for the players. A portable hoop is not as stable as an in-ground system.
At any moment, the hoop can topple over during play. In addition, players can come into contact with the portable base.
Attach to an existing structure such as a wall
After disassembly, attaching the backboard and rim to an existing structure is the next step. Depending on your hoop’s design, this can be done with screws or bolts (and a few hours of actual work).
If you don’t have a sturdy post or tree nearby to mount the hoop to, you can use your home’s exterior walls as support. Find a section of the wall that can handle the hoop’s weight, and use a level to make sure it’s mounted straight.
If you’re attaching the pole to an existing structure, make sure there is enough clearance above and below the hoop so players can move freely. If you need to cut the pole of the hoop down to size, you can use a hacksaw.
Also, be sure to check for any power lines or other obstructions around your wall that could interfere with play.
Once you’ve found a spot, use a drill to make pilot holes in the wall. Then attach the backboard and rim using the screws or bolts that came with your hoop. If you don’t have any hardware, you can find it at your local home improvement store.
Can you concrete a basketball base?
Yes, you can concrete a basketball base. First, you will want to dig a big enough hole to shelter the entire basketball base. Ensure that the hole is level and that it’s deep enough so when you put concrete over it, the final result will look flush.
One of the drawbacks to this method is that it can be unsightly, and it can also be a tripping hazard. Keep in mind that this method is also permanent, so if you ever want to move your basketball hoop, you will need to undo the concrete and reattach the base in its new location.
Once you dig a hole, you will want to put a lining in the bottom, such as rocks or bricks. The lining will help to keep the concrete from eroding.
Next, you will mix your concrete and pour it into the hole. Finally, you will want to place the basketball base in the concrete and let it dry.
Next, place the basketball base in the hole and ensure that it is level. Then, fill the hole with concrete until it is about 1 inch below the top of the basketball base. Finally, let the concrete dry. I have to tell you that’s more difficult than moving a hoop with sand, but this method provides much more stability.
It is important to let the concrete dry for at least 48 hours before you start using your steel basketball hoop.
Now that your project is done, get out there and start playing! Remember to be safe and have fun!